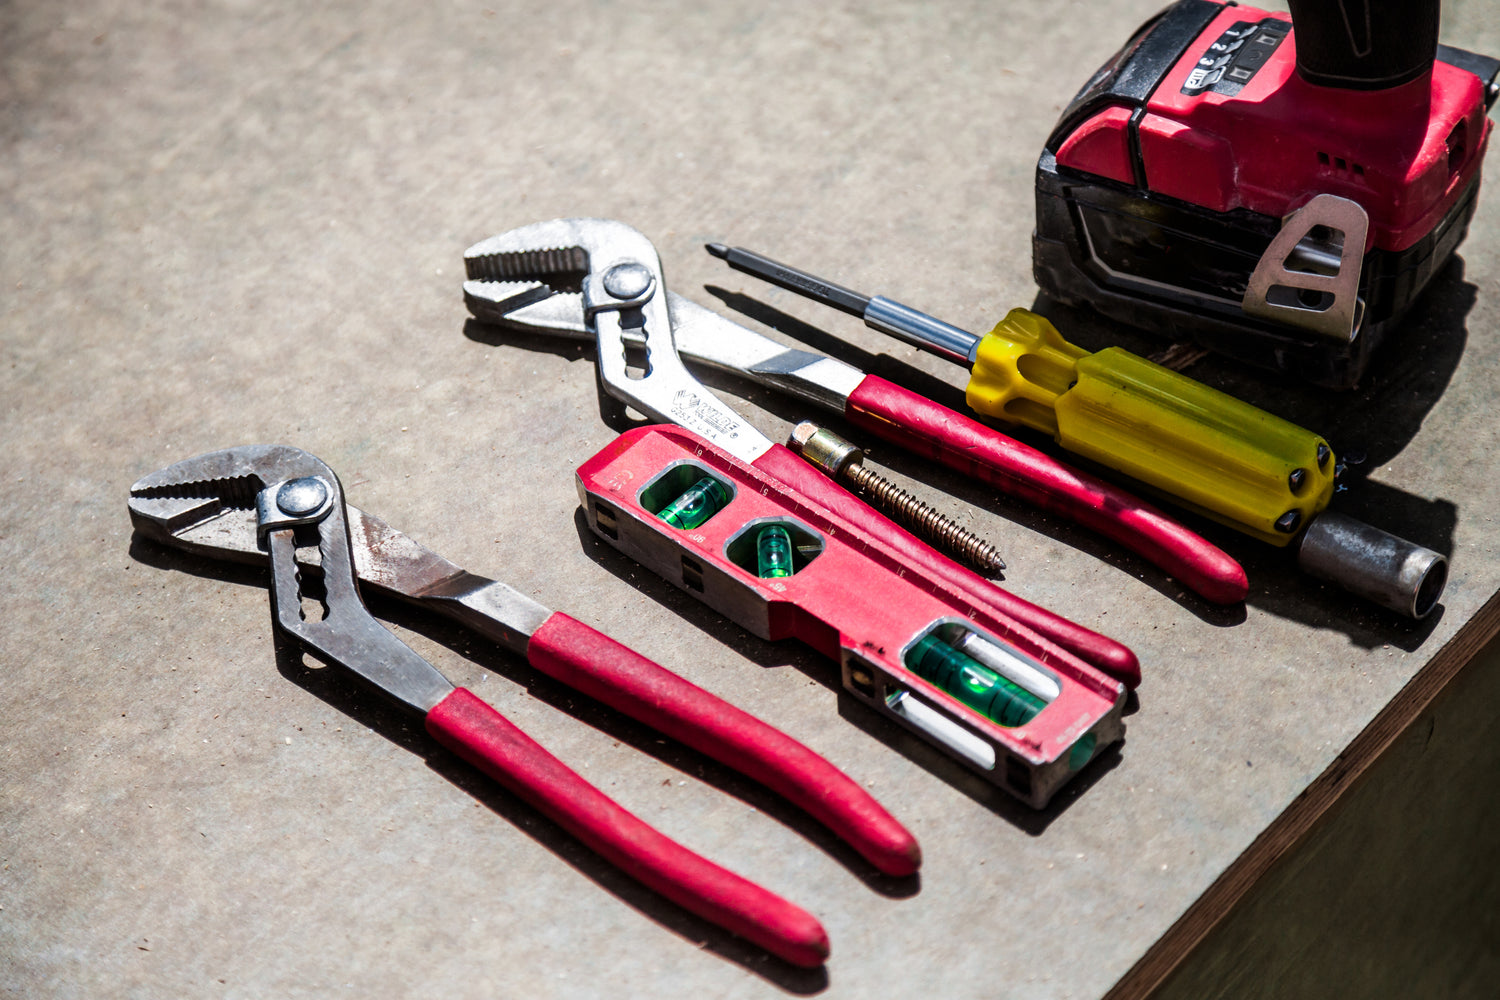
TOOLS NEEDED
- Flathead Screwdriver
- 10mm Wrench/Rachet
- Torque Wrench (Optional)
Step 1
REMOVE STOCK CHAIN GUARD
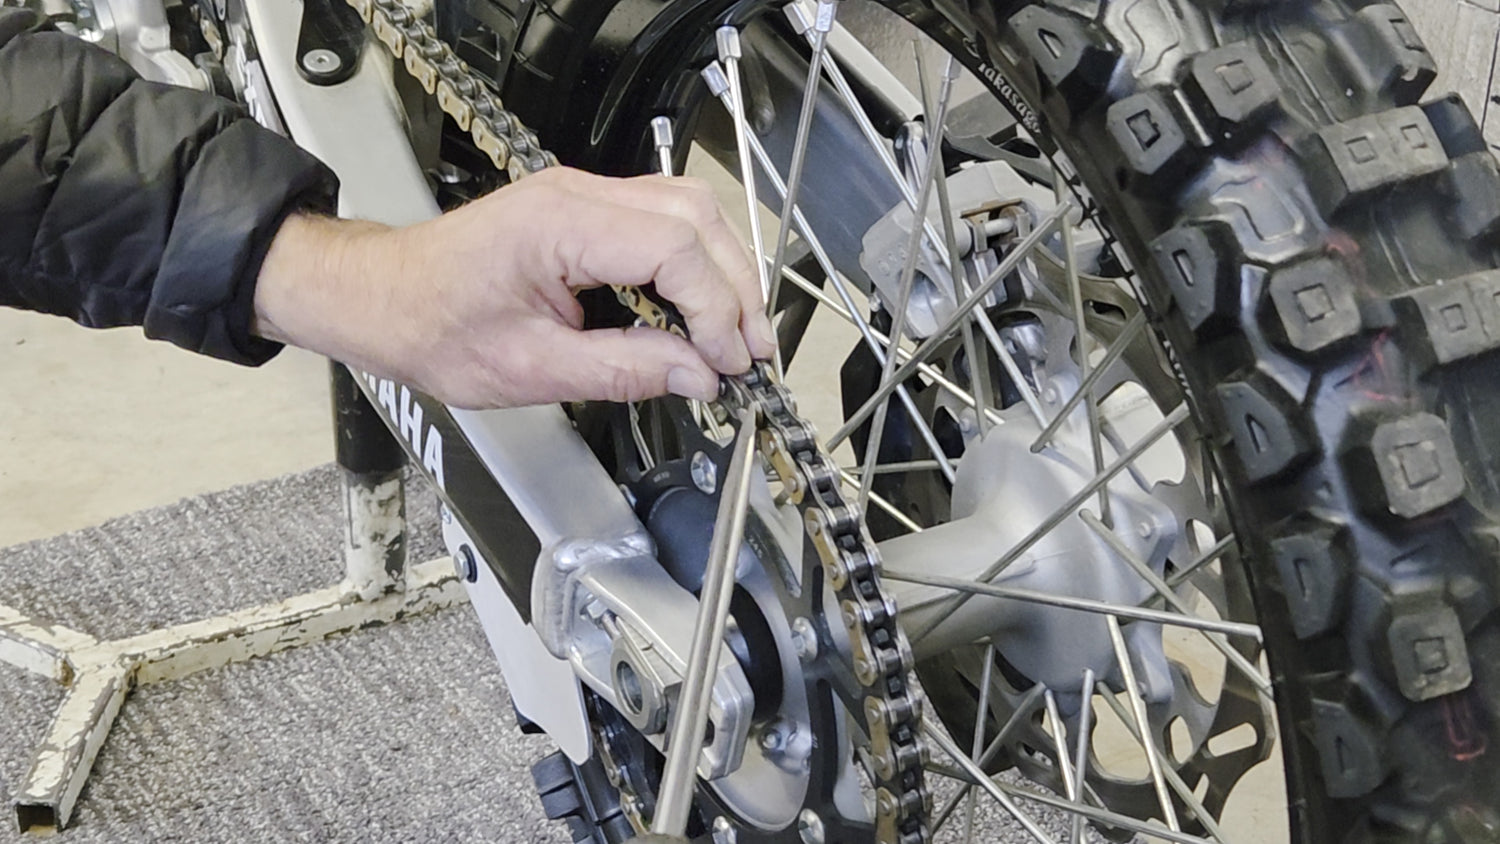
- Take the portion of the chain where the master link is and rotate the rear wheel so that the master link sits on top of the swingarm. This will make installation easier.
- Remove the master link.
- Remove nuts and bolts from stock chain guard and pull chain out through the chain block.
STEP 2
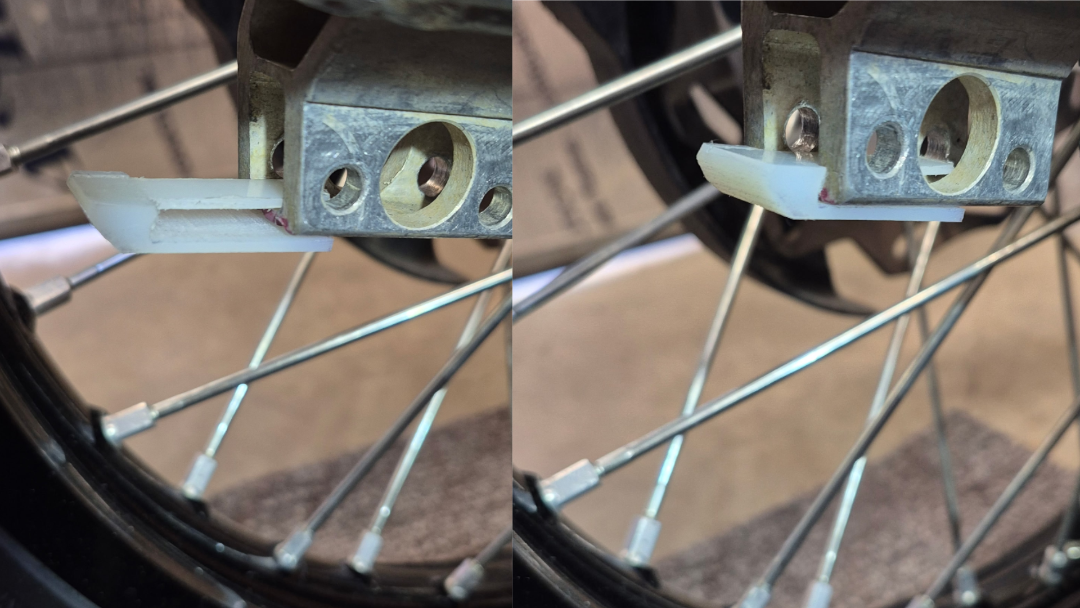
INSTALL SWINGARM BRACKET PROTECTOR
- Take swingarm bracket protector piece and slide it in on the lowest ledge of the bracket, just below the bolt holes.

STEP 3
FEED CHAIN THROUGH ACTIVE-TENSION CHAIN GUARD
- Take the bottom half of the chain and feed it through the front block of the Active-Tension Chain Guard with the Chain Guard held at a 45° angle to make feed-through easier.
- Once you have fed 14" or more of chain through the front block of the Active-Tension Chain Guard, take that bottom end of the chain and wrap it around onto to the teeth of the rear sprocket from the bottom-up so that the end of the chain reaches the top of the rear sprocket.
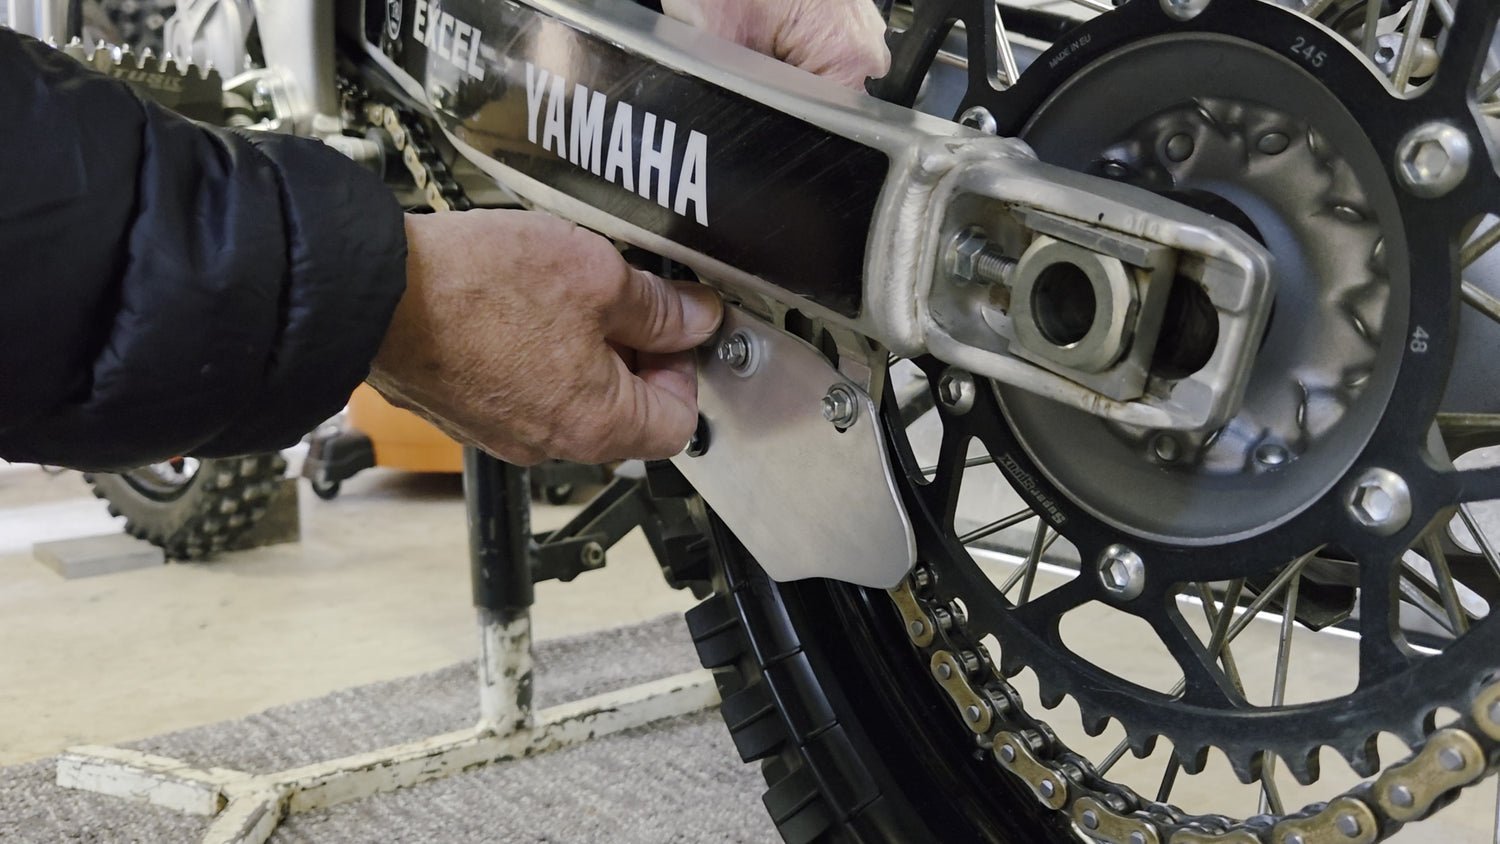
STEP 4
INSERT BOLTS
- Start by inserting the front bolt first, as this is easiest, then follow with the middle bolt and rear bolt.
- You may need to push up on the Active-Tension Chain Guard to get the bolts all of the way through.
- Screw on the nuts onto the bolts on the other (inner) side of the Chain Guard. Do this to just hand-tightness for now.
STEP 5
CHECK CHAIN DROP
- The chain will appear tight, but it should have a slight drop/slack of 1/8" to 3/16" at about 8 inches from center-top of rear sprocket on the chain between the countershaft sprocket and the rear sprocket.
- If chain drop is within spec, go ahead and tighten down the bolts. IF NOT, see "CHECKING THE CHAIN DROP" section below, if needed. Otherwise, go ahead and tighten bolts between 95-100 inch lbs.
STEP 6
PUTTING IT ALL TOGETHER
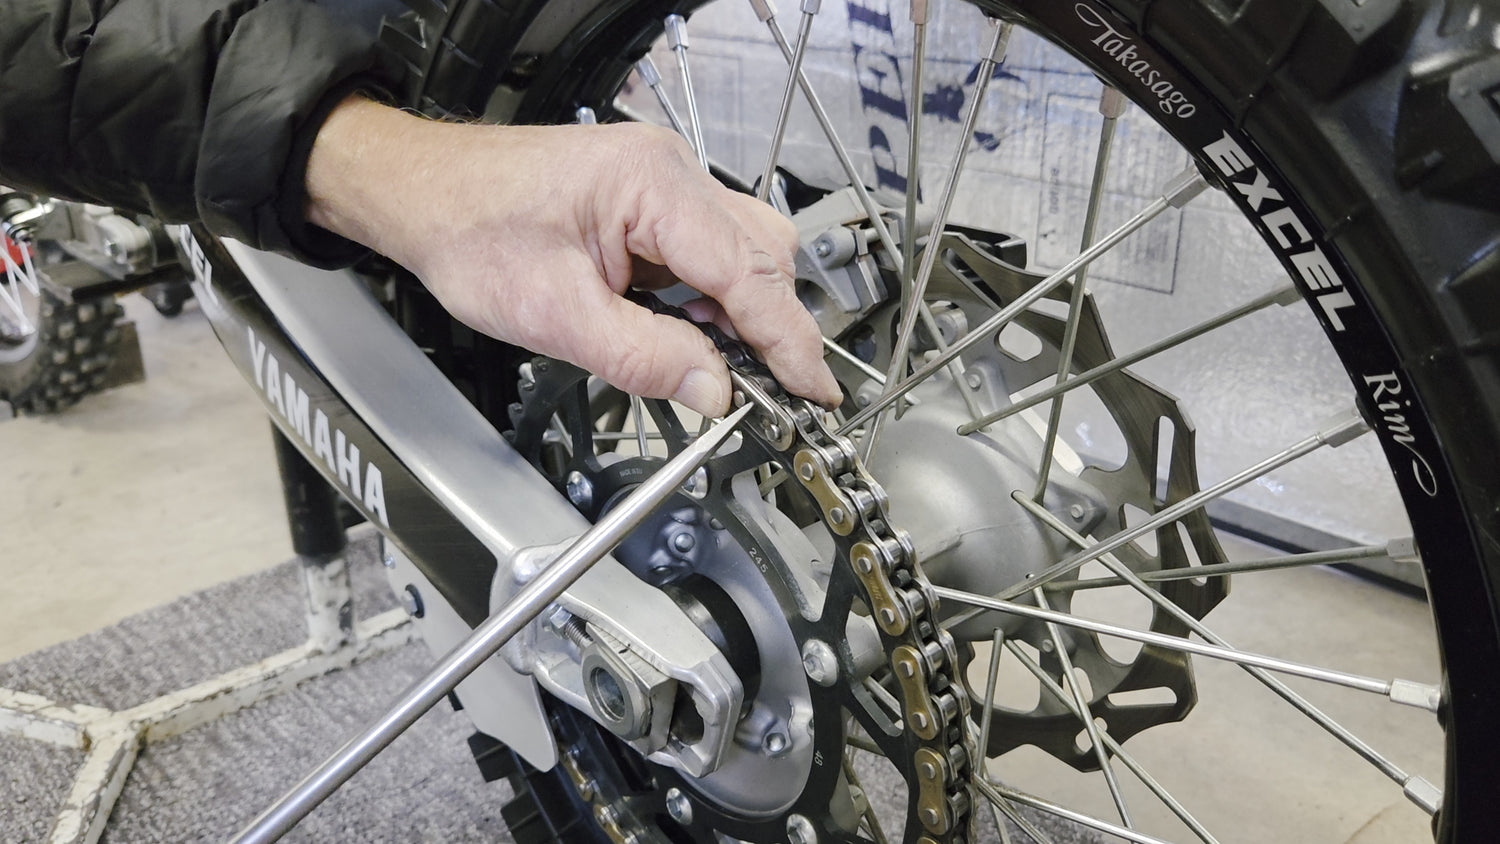
- Install master link. Put large flat blade screwdriver in the center of the clip. Put your middle finger through sprocket holes, and thumb on screwdriver shank. Pry rearward with your thumb to install master link clip.
- GO RIDE!
CHAIN ADJUSTMENT
CHECKING THE CHAIN DROP
TOOLS NEEDED
- Tape Measure
- An 18" to 24" Straight Ruler, Metal Straight Edge, Or Even a Straight Piece of Wood
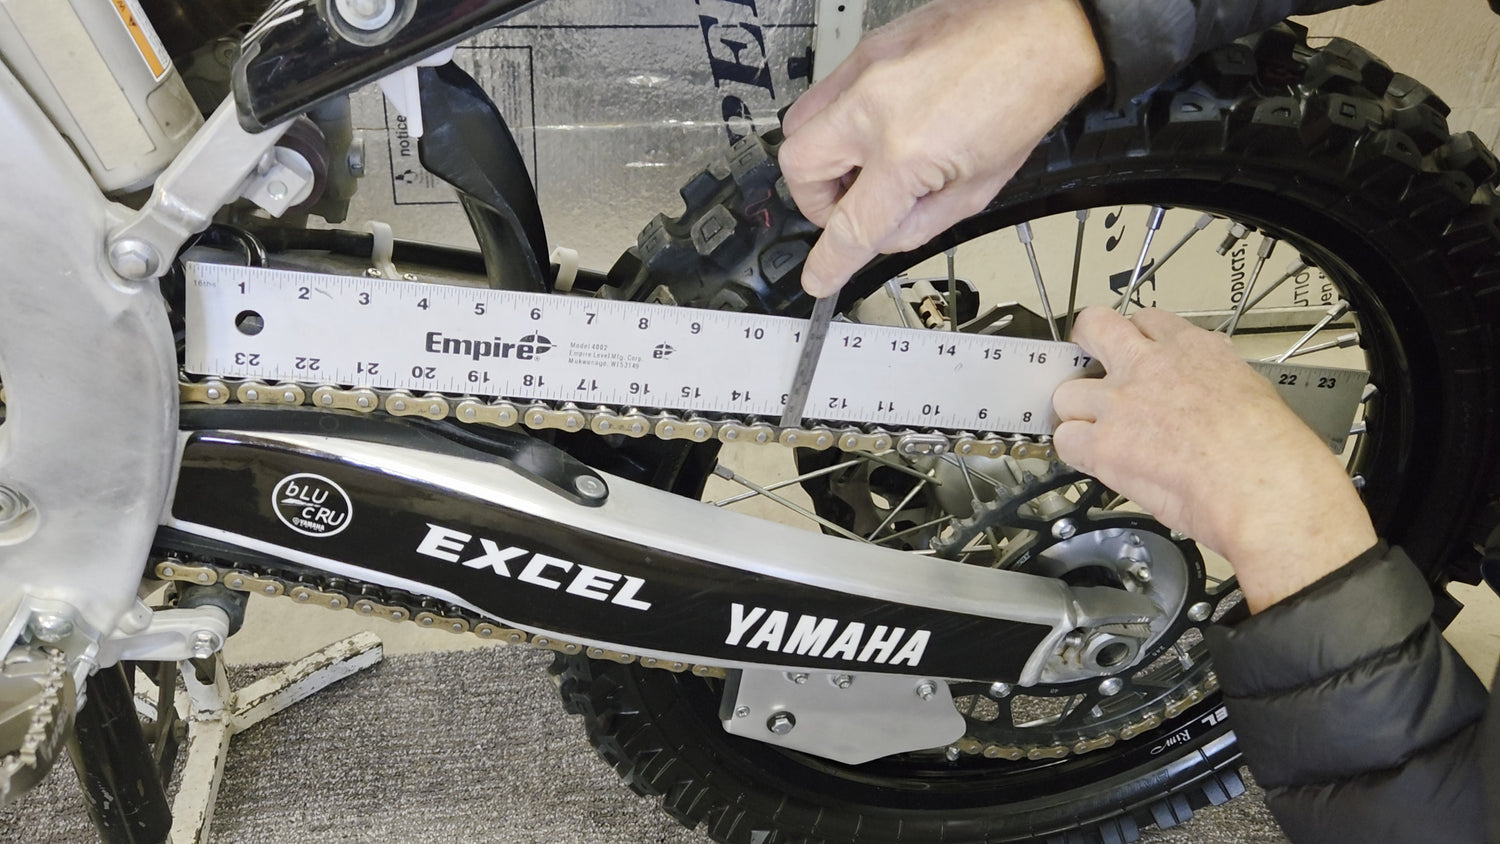
The chain may appear tight (see video above for more information on what it should look like)
- Check the drop by laying the side edge of the ruler or straight edge on the top part of the chain. (Make sure both ends of the ruler are on links that aren't moving with weight of the ruler) note: links that aren't hanging. From the center-top of the rear sprocket, measure about 8" toward the front.

- Take your machinist ruler or tape measure while holding the straight edge, and measure the drop from the 8" distance mark you measured from step 1. For optimum performance, the measurement should be between 1/8" to 3/16" of an inch (or about .156" measured precisely). If everything checks out good, torque your chain guard to 95-100 inch lbs. If adjustment is needed, move to step 3.
- It's a one time adjustment-- Check and adjust the chain slack using the factory specifications as you would normally adjust the chain slack.
- Recheck measurement of chain drop with the ruler. If it is low, you can now loosen slightly the snugged-down chain guard, then push up incrementally on the rear of the Chain Guard to lift the chain up and vice-versa to lower it. If it is too tight, you will need to loosen it with the swingarm block adjuster bolts. It will need to be within the recommended range of 1/8" to 3/16" drop.
- Don't forget to torque down the rear axle nut and block adjuster lock nuts. Tighten Chain Guard bolts to 95-100 inch lbs.
ADDITIONAL SLACK INFORMATION
A chain needs to have looseness between both sprockets as it moves around them, if it's not allowed to move freely around either sprocket, the rear hub wheel will get pulled forward taking up the tolerance engineered in them so they can also spin freely. This all results in impeding real wheel drag/friction coefficient. In other words, the chain, rear bearings, axle, transmission counter shaft bearing cannot be pulled on too tightly by a chain that is overtightened. If it is overtightened, friction/heat buildup will occur and parts on the motorcycle will begin to wear, even suspension movement will be hindered.
Friction Coefficient, simply put, is the way engineers factor in what will be happening when 50-60 horsepower is pulling on a rear axle assembly during acceleration. They look at how much load/force will be generated not only at the axle, but also how strong to make the chain, rear hub, bearings, sprockets, etc. including materials from which they make each component. They look at friction build-up on the aforementioned parts, then the magic happens when they do the math to allow all the components to work together in harmony.
We haven't mentioned swingarm/shock movement. The engineers left something for us to factor in. Chain adjustment! If we were all riding Honda Gold Wings with a drive shaft then we wouldn't have any reason to work on the drive line. But a chain always needs a check before we go on a ride; and more often, than not, more than just a quick glance is needed. The swingarm movement becomes impeded when the chain is not adjusted to factory chain slack specifications. Everyone knows a chain that is too loose is a problem. An overtightened chain that binds up the free movement of the swingarm will impede the shock's ability to control the swingarm properly.
Put simply, an overtightened chain will:
- Decrease horsepower
- Hinder/bind up swingarm movement
- Wear all drive components faster
- Could even break the chain itself